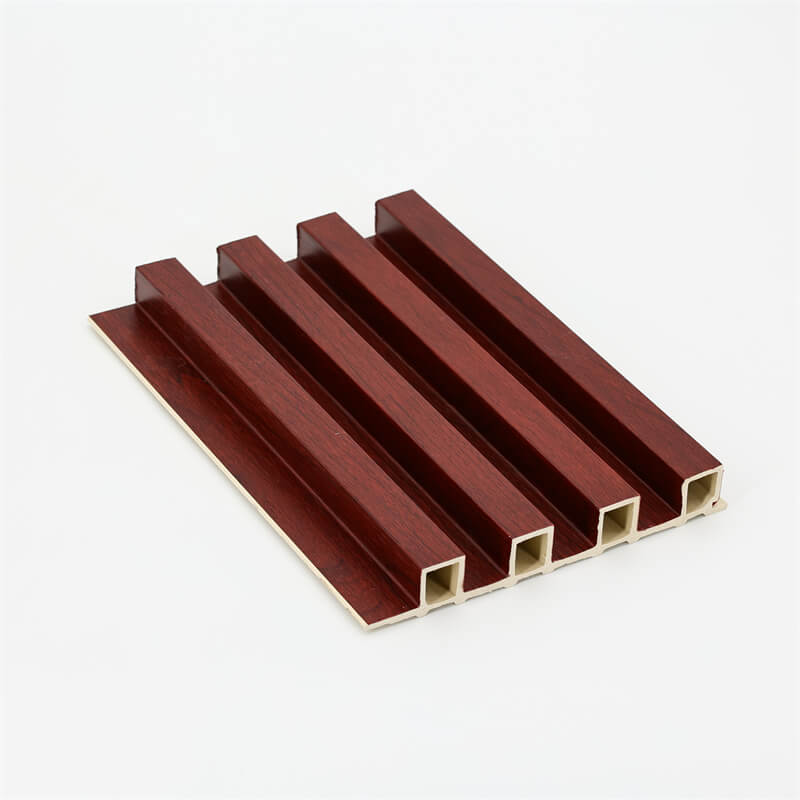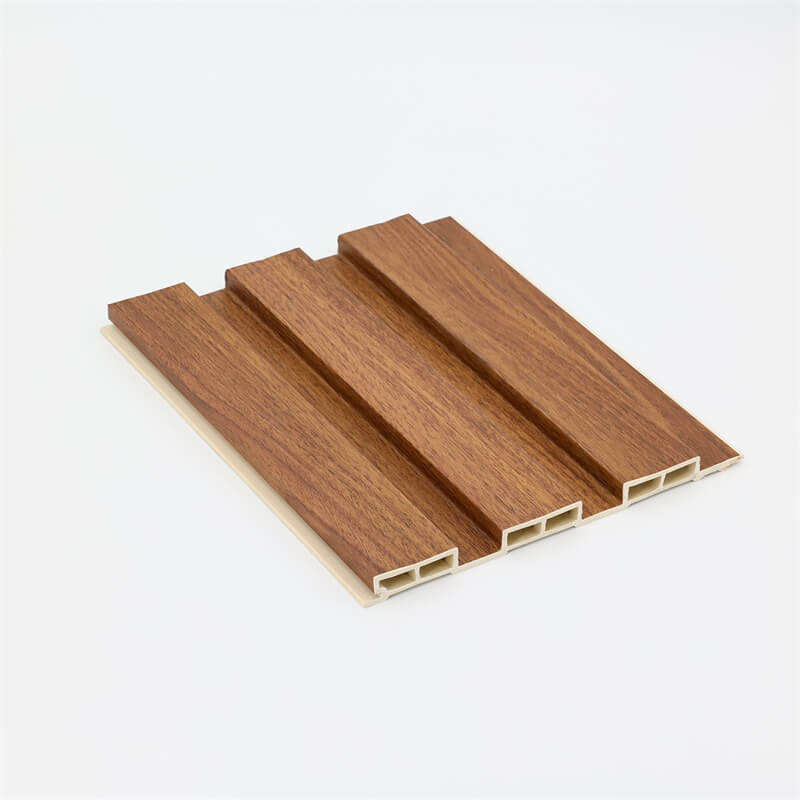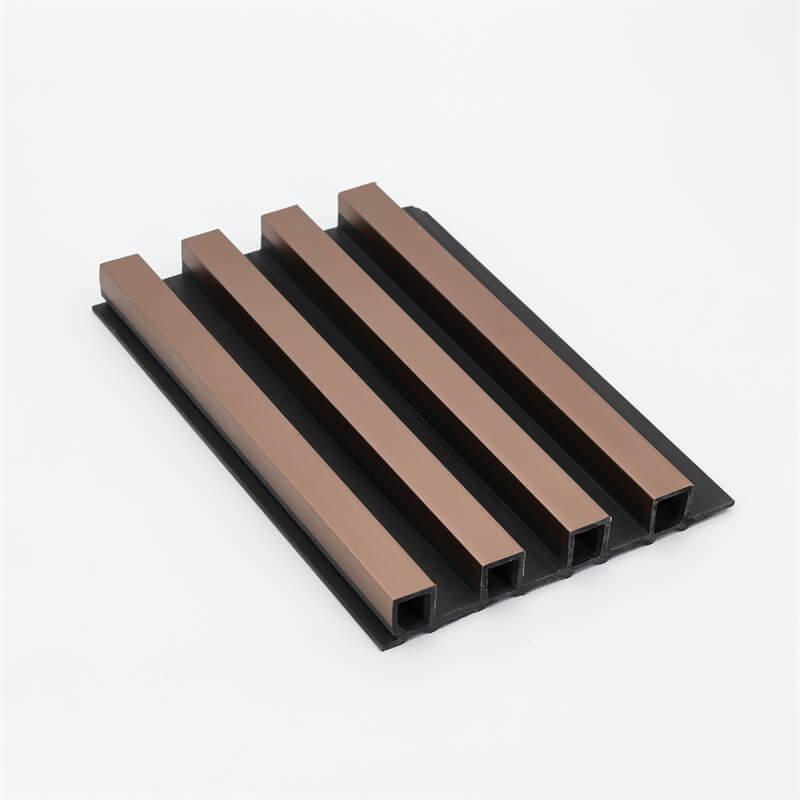
WPC (Wood Plastic Composite) wall panels have gained popularity as an attractive and durable option for wall cladding.
Whether you’re embarking on a new construction project or renovating your existing space, installing WPC wall panels can transform the look and feel of your walls.
While the process may seem daunting, it can be accomplished with careful planning and attention to detail.
In this step-by-step guide, we will walk you through the installation process of WPC wall panels, ensuring a seamless finish that enhances the aesthetics of your space.
Preparation and Planning
Before you begin the installation, it’s crucial to adequately prepare and plan for the project.
Start by measuring the walls where you intend to install the WPC panels.
This will help you determine the quantity of panels required and allow for accurate cutting and fitting.
Ensure that the wall surface is clean, dry, and smooth. Remove any existing wallpaper, paint, or loose debris from the walls.
If necessary, apply a primer to promote better adhesion between the wall and the panels.
Lastly, carefully inspect the WPC panels for any defects or damages and sort them accordingly.

Panel Layout and Marking
Once the preparation is complete, you can proceed with panel layout and marking.
Begin by determining the desired height and width of the panels.
It’s common to install the panels vertically, although horizontal installations are also possible depending on the design preference.
Using a level, draw a straight vertical line on the wall to serve as a reference for the first panel.
Mark the width of each panel on the floor or ceiling, allowing for equal spacing between them.
This will ensure a uniform and visually appealing installation.
Consider the placement of doors, windows, and electrical outlets, making necessary markings for accurate panel cuts and fitting.
Panel Installation
With the layout and markings in place, it’s time to install the WPC wall panels.
Begin by applying an adhesive or construction adhesive to the back of the first panel.
Position the panel along the marked reference line and press it firmly against the wall, ensuring it is plumb and level.
Use a level to check the vertical alignment and make adjustments as needed.
Secure the panel in place using panel adhesive, screws, or nails, depending on the manufacturer’s recommendations.
Repeat the process for subsequent panels, ensuring tight joints and consistent spacing between them.
Use a saw or a router to make precise cuts for panels around doors, windows, or any other obstacles.
Continue installing the panels until you cover the entire wall surface.

Finishing Touches and Maintenance
Once all the panels are installed, it’s time to add the finishing touches for a polished look.
Use color-matched caulk or trim pieces to cover any visible gaps or joints between the panels and adjacent surfaces.
This will give the installation a clean and professional appearance.
Inspect the panels for any excess adhesive or debris and clean them with a soft cloth or sponge.
Take this opportunity to ensure that all panels are securely attached and make any necessary adjustments.
Finally, follow the manufacturer’s guidelines for routine maintenance, which typically involves periodic cleaning with a mild detergent and water solution to keep the panels looking their best.
Installing WPC wall panels can elevate the aesthetics of your space with their durability and appealing design.
By following this step-by-step guide, you can achieve a seamless installation that enhances the beauty of your walls.
Remember to plan and prepare adequately, mark and layout the panels accurately, and carefully install them with the right adhesives or fasteners.
Pay attention to the finishing touches to achieve a professional and polished look.
With proper installation and regular maintenance, your WPC wall panels will provide a long-lasting and visually stunning addition to your interior or exterior space.
